Quick start#
Once the installation is done, you first need to start the systemd service firmwared.
$ sudo systemctl start firmwared.service
Next, launch a first simulation by entering the following command:
$ sphinx "/opt/parrot-sphinx/usr/share/sphinx/drones/anafi_ai.drone"::firmware="https://firmware.parrot.com/Versions/anafi2/pc/%23latest/images/anafi2-pc.ext2.zip"
Note
All available firmware images compatible with Parrot Sphinx are listed in the
following page: https://firmware.parrot.com/Versions/index.html,
in the subsections starting with pc.
Note
If you have already downloaded the firmware image, you can provide a local absolute path instead of a URL:
$ sphinx "/opt/parrot-sphinx/usr/share/sphinx/drones/anafi_ai.drone"::firmware="/to/my/local/anafi2-pc.ext2.zip"
Once launched, the core application is waiting for the Unreal Engine application to connect… In a second shell, run for example:
$ parrot-ue4-empty
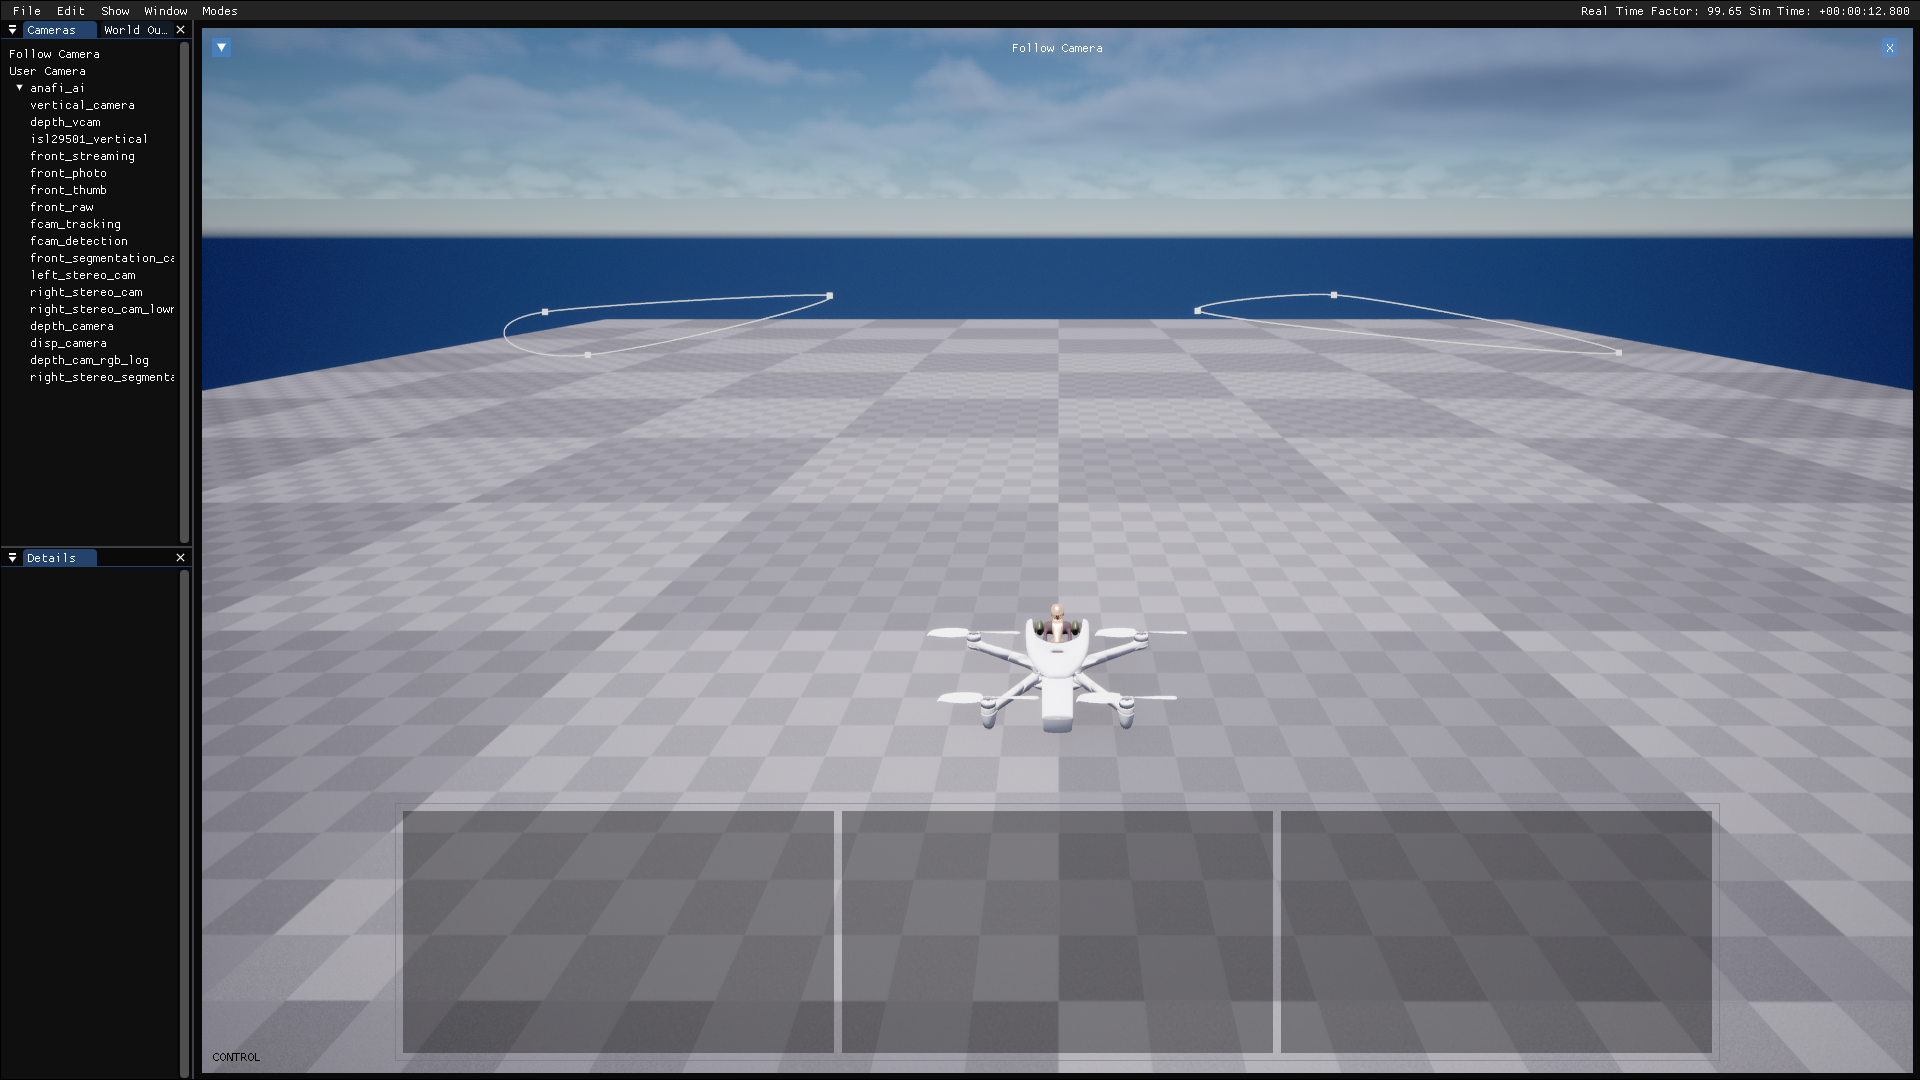
The two applications should connect together. As it is the first time Parrot Sphinx is started with this firmware, it may take several seconds to download the drone firmware from the external server. The drone will eventually come up in the UE4 window that has popped up. Parrot-sphinx is ready to be used.
To exit both applications, exit the UE4 application either via the HMI or by
pressing Ctrl+C in the corresponding shell. Then wait a few seconds
in order to let the core application automatically switch off.
Note
You can put everything on one line, which can be more convenient:
$ sphinx <my.drone> & parrot-ue4-<xxxxx>
To get more details about the available options in the command lines, you can read the section Configuration at launch time.
Now that a drone is available to be connected and piloted, you can read:
Piloting with a remote controller, if you intend to use your smartphone to remotely control the simulated drone.
About local controllers, if you wish to control the simulated drone using a program running on your workstation.