“Hello, Drone!”#
The Hello Drone Flight mission is a simple Air SDK Flight mission explaining how to:
Use Flight supervisor default state machine
Write a Guidance mode with a trajectory generation for cameras
Send and receive messages between Flight mission and Mission UI
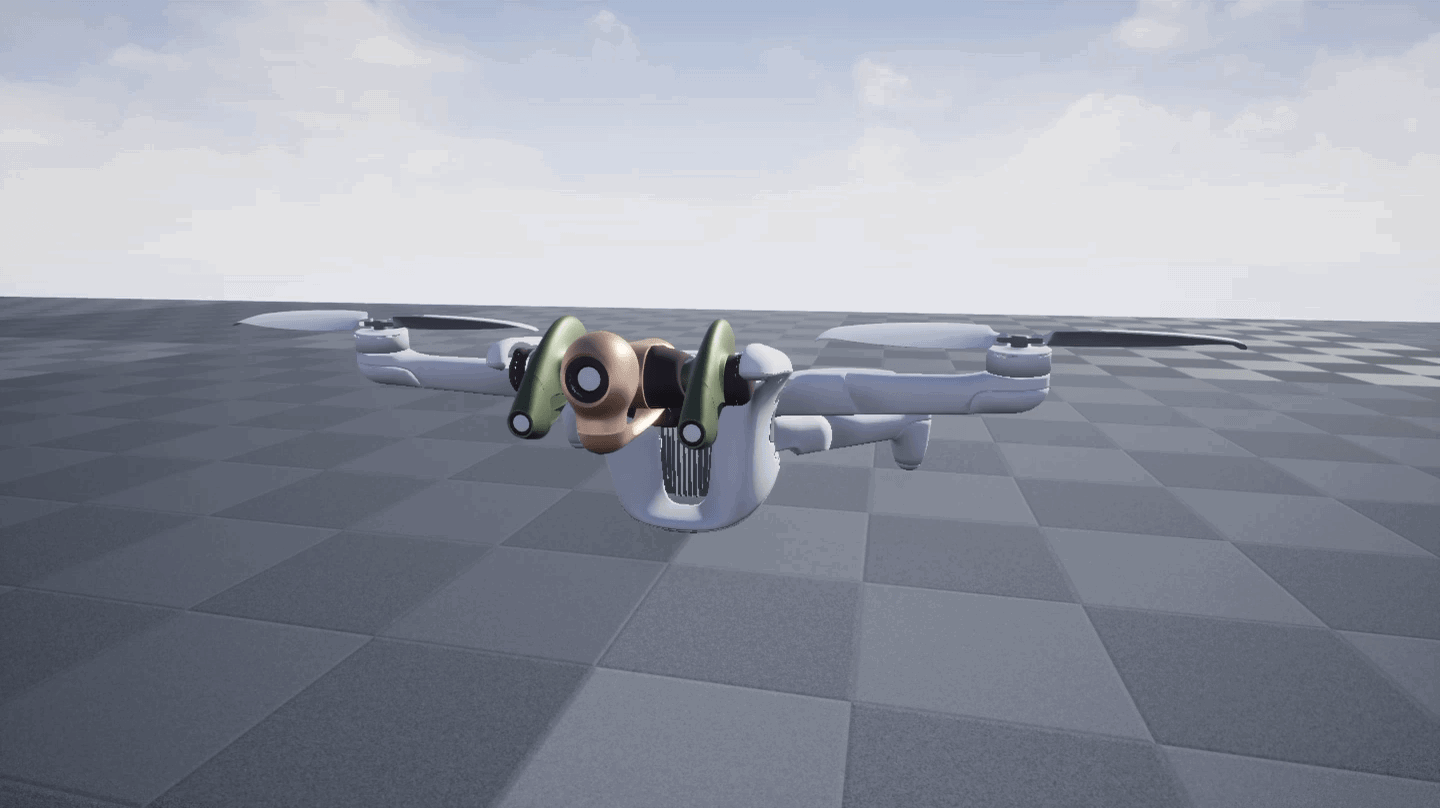
When the Hello Drone Flight mission is activated, the drone will “say” Hello moving its head.
The code is available here.
Hello Flight supervisor state machine#
The Flight mission’s code for Flight supervisor is available here.
This code defines the states and transitions (see how to modify the state machine). It uses Default mission takeoff, hovering, landing and critical stages and creates specific ground and flying stages.
Two Transitions in the state machine are defined to switch from
idle or say states of ground stage.
Hello Guidance mode#
The Flight mission’s code for Guidance is available here.
This code defines the Guidance specific HelloGroundMode in Python
(see how to write a mode).
In this mode, the orientation of the front camera performs the Hello
animation. A message count is sent to Flight supervisor counting the
number of times the front camera has performed the Hello animation.
Hello Service#
The Flight mission’s code for the Service is available here.
The Service computes the mean depth from the depth map video feed of the stereo camera. It demonstrates how to define a telemetry consumer and producer. And it demonstrates how to instantiate a client video feed.
Security setup#
The generated archive needs to be signed to be installed on the drone (simulated or real) The method and key to use is specified in the mission.yaml file. The signature configuration item has the following schema:
$ type: object
  properties:
    type: string
    path: string
    key_id: string
  required:
    - type
<type>can be local or aws-kms (https://aws.amazon.com/kms/)<path>is the path to the private key (absolute or relative to the mission directory) for thelocalsignature type.<key_id>the id of the key foraws-kmssignature type.
Security setup of a real drone#
First, make sure that the public key from the pair of keys used to sign your missions has been provided to the drone secure element (this has only to be done once).
To generate the pair of keys see Generate a key pair.
To add the generated public key see Add a key to the Secure Element.
If you choose to use a local key, edit your mission.yaml file to add a “signature” section of type “local” and specify the path of your .pem key file there. Relative paths are resolved from your mission root directory.
$ signature:
    type: local
    path: <path>/<to>/<your>/<keystore>/fm-provider-private-key.pem
Security setup of a simulated drone#
The simulated drone already contains a default known public key whose private key
is bundled with airsdk command line utility.
airsdk build --simulator already use it by default.
Important
This private key shall not be used for a real drone, only for testing with a simulated drone.
Create the workspace#
First, git needs to be installed to clone the “Hello, Drone!” mission
repository.
$ sudo apt-get update
$ sudo apt-get install git
Then, once git is installed, create your workspace directory and clone the
AirSDK sample missions repository:
$ mkdir ~/code && cd ~/code
$ git clone https://github.com/Parrot-Developers/airsdk-samples.git
Build the Hello Drone Flight mission#
From the previously created workspace,
go to the hello folder:
$ cd ~/code/airsdk-samples/hello
and build the mission with the following command:
For a simulated drone:
$ airsdk build --simulator
The output signed archive is generated in the workspace
.airsdkbuild directory, this mission archive can be installed with theairsdk installcommand that is introduced in the next section.$ ls -al ./.airsdk/out/hello-pc/images/com.parrot.missions.samples.hello.tar.gz
For a real drone:
$ airsdk build
Likewise, the output signed archive is generated in the workspace
.airsdkbuild directory:$ ls -al ./.airsdk/out/hello-classic/images/com.parrot.missions.samples.hello.tar.gz
Note
You can run airsdk build --help to learn more about the building options
Install the Hello Drone Flight mission#
Type the following commands.
For a simulated drone:
$ airsdk install --simulator
For a real drone:
$ airsdk install
Once the drone has restarted, the mission will be available.